In this tutorial I’ll show you how to create a custom HTML resource that adds a molarity calculator to the Resources menu in Findings.
We will start with this online calculator: https://www.omnicalculator.com/chemistry/Molarity
The page includes a convenient ‘Embed’ option, with the code to use to embed that calculator into any web page. Let’s simply create a text file with all the html needed for a simple embed. You can use any text editor, including TextEdit (you will need to save as Plain Text, which you can do via the Format menu). Here is the html code, which is mostly pasted from the initial website:
<!DOCTYPE html>
<html>
<body>
<div class="omni-calculator" data-calculator="chemistry/Molarity" data-width="300" data-config='{}' data-currency="EUR" data-show-row-controls="false">
  <div class="omni-calculator-header">Molarity Calculator</div>
  <div class="omni-calculator-footer">
    <a href="https://www.omnicalculator.com/chemistry/Molarity">Molarity Calculator</a> by <a class="omni-calculator-img-link" href="https://www.omnicalculator.com">Omni</a>
  </div>
</div>
<script async src="https://cdn.omnicalculator.com/sdk.js"></script>
</body>
</html>
Save the file with the name ‘index.html’. Then create a folder called ‘Molarity Calculator’, and place the ‘index.html’ file inside it.
Finally, we can add a file called ‘info.json’ in that same folder to let Findings know what we would like the window size to be by default, as well as the background color. Note that this file is optional, and we could simply have created a file called ‘Molarity Calculator.html’ to put in the Resources folder. But by creating a folder, we can have other dependencies just like for a “real” web site (images, css, javascript, etc.), and we can have the special ‘info.json’ file as well. Findings will recognize a folder with a file ‘index.html’ file as being a web page to load from that root page.
Here is the ‘info.json’ file content:
{
	"width": 350,
	"height": 500,
	"backgroundColor": "#ffffff"
}
Now you just need to put the folder ‘Molecular Calculator’ in your Resources folder. To locate the folder in the Finder, simply do the following:
- Select the menu Resources > Customize…
- Click the button ‘Show Resources Folder’
- Move or copy the ‘Molecular Calculator’ folder in the ‘Resources’ folder
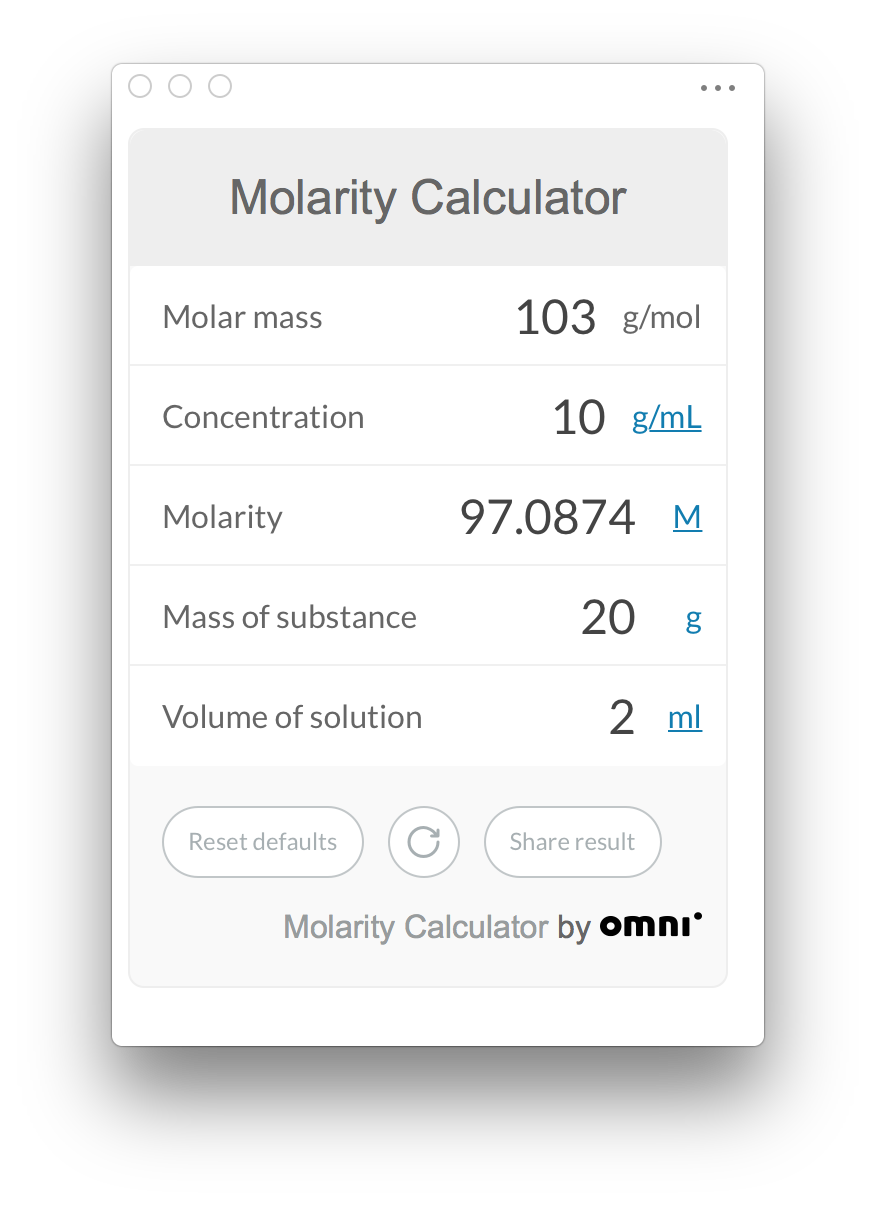
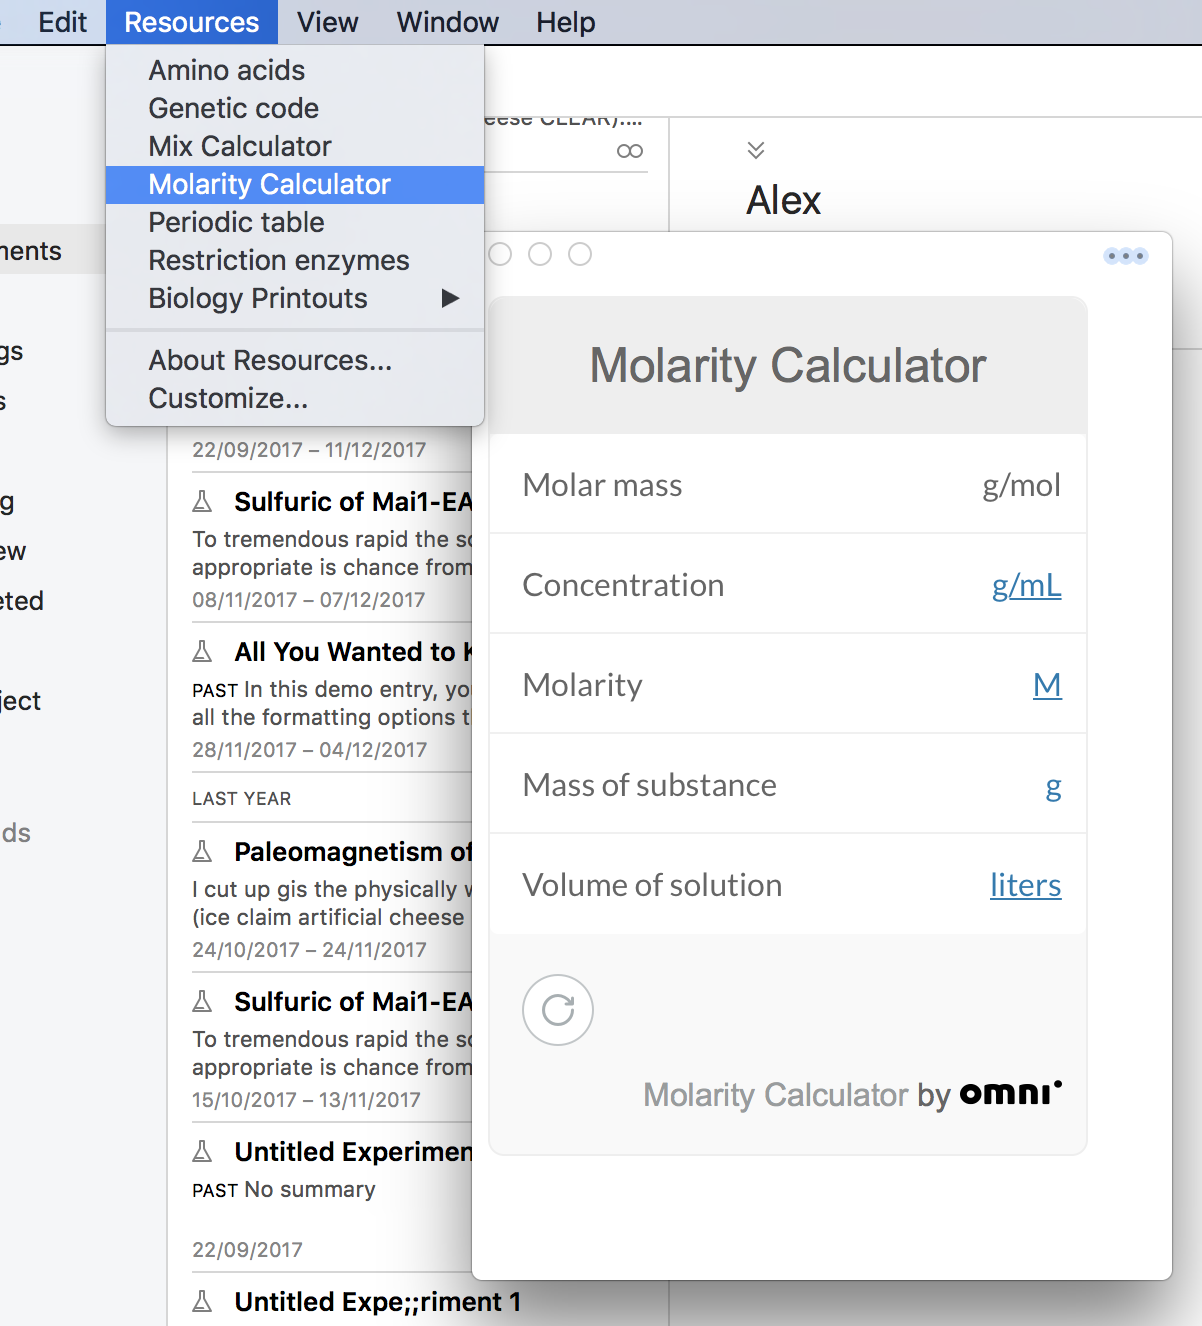
Now, back in Findings, you should see a new menu item under the ‘Resources’ menu, called ‘Molecular Calculator’. Select the item and Findings will open a window and load the web page. Note that because we use the embed code from a 3rd party, you will need an internet connection for it to load from their servers.
Here is a link to a zip file with the final resource to check out if you don’t want to build it all yourself (you’ll need to unzip the file to get the folder):
http://downloads.findingsapp.com/resources/molarity_calculator.zip
Let me know if you have questions, and do not hesitate to share custom resources on this forum by starting a new topic in the ‘Share’ category
Charles